How to Install React JS & Setup Your First Project (2024) 🚀
In this practical guide, we will understand how to install React JS and create your first project as well. Making interactive user interfaces with the help of JavaScript has never been so easy for developers thanks to ‘React’. By the end of this article, you will know everything about Installation of React, creation of your 1st project and how to execute it. So, let’s get started!
Understanding the Basics of React JS 🧠
Prior to getting our hands dirty with an installation procedure, it is crucial to understand the basics of React JS. A simplistic notion is that React is just another framework, whereas in reality, it is more of a library used to construct front-end of applications usually web single-page applications. Its major advantage is ability to construct UI components and reuse them during development time, meaning that the process is accelerated.
First thing is that you must have Node.js within your system if you want to run React. Node.js is a platform for running JavaScript applications outside of a web browser. This is very important as regards how you configure your React environment.

Step 1: Installing Node. React JS and NPM 📦
The first step to setting up React is installing Node.js. Node.js comes with npm (Node Package Manager), which is essential for managing packages in your applications. Here’s how to install Node.js:
- Visit the official Node.js website.
- For stability, go with the Long Term Support (LTS) version.
- Download the installer and run it.
- Follow the installation prompts, accepting the default settings.
After installing, you can verify the installation by opening a command prompt and typing the following commands:
node -vThe installed version of Node.js will be shown by this command.js installed. Next, check the npm version:
npm -vIf both commands return version numbers, you have successfully installed Node.js and npm!
Step 2: Creating Your First React Application :Install React JS 🎉
Now that you have Node.js and npm installed, it’s time to create your first React application. You can do this using the npm command line tool, specifically with the Create React App package, which sets up everything you need for a React project.
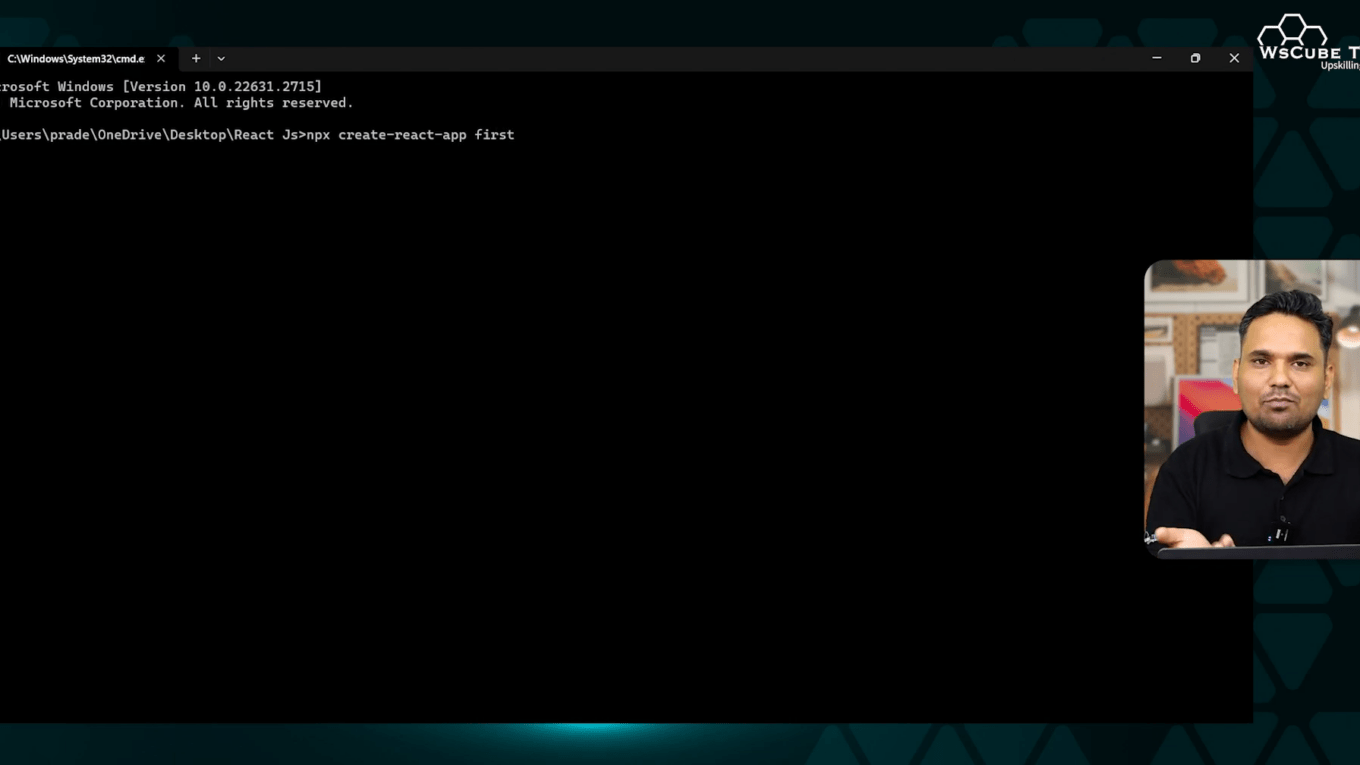
Run the following command at the command prompt after it has opened:
npx create-react-app my-first-appIn this command, replace my-first-app with your desired project name. The npx command is used to execute packages without needing to install them globally.
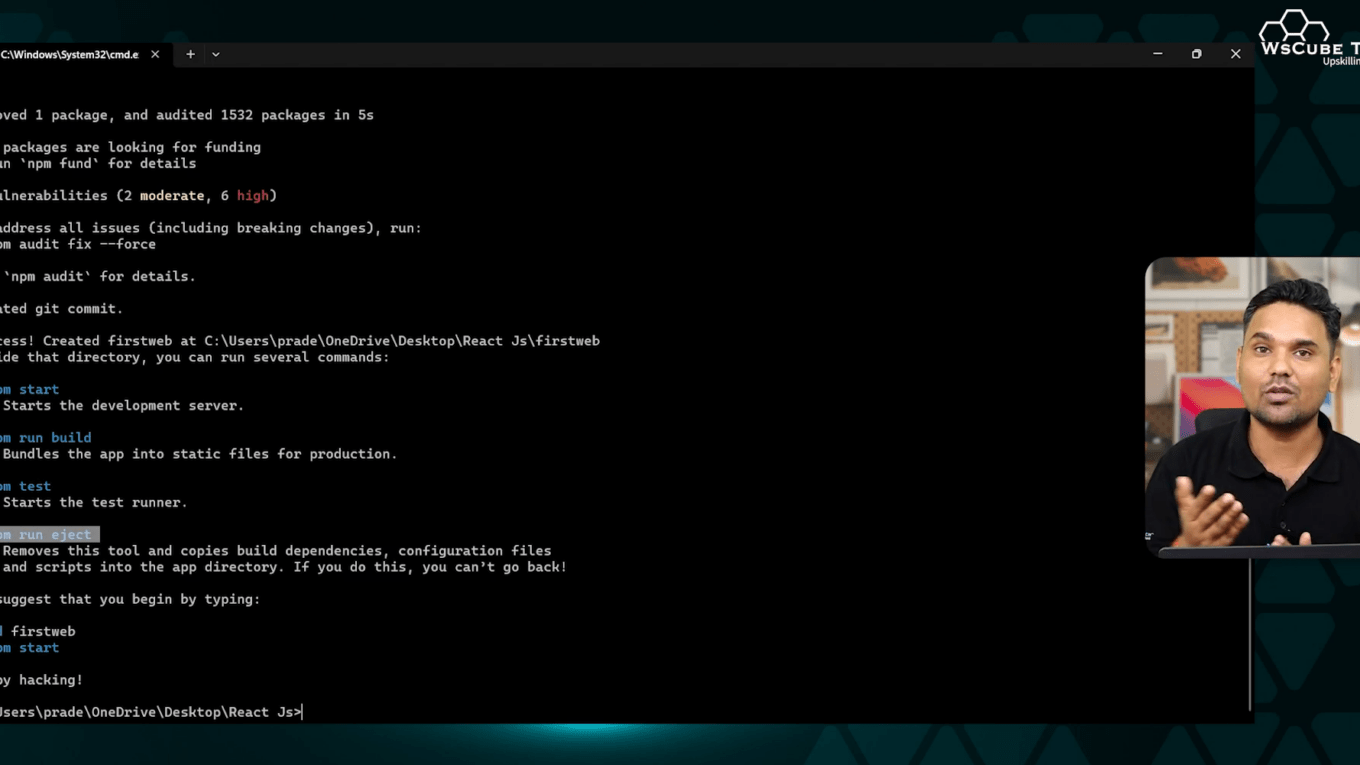
This process will take some time as it sets up your project structure and installs the necessary dependencies. Once it’s done, navigate into your project folder:
cd my-first-app
Step 3: Running Your React Application :Install React JS 🚀
Now that you have created your React application, it’s time to run it. Make sure you are in the directory of your project, then execute the following command:
npm startThis command will start the development server and open your new React app in your default web browser, usually at http://localhost:3000. You should see the default React welcome page, confirming that your app is running successfully!
Step 4: Understanding the Project Structure 🏗️
After creating your React app, take a moment to familiarize yourself with the project structure. Here are the key folders and files you’ll find:
- node_modules: Contains all the npm packages your app depends on.
- public: This folder contains the HTML file and images. You can modify the index.html file here.
- src: This is where you’ll spend most of your time. It contains the JavaScript files for your components.
- package.json: This file contains metadata about your project and lists the packages it depends on.
Step 5: Making Your First Changes ✏️
Now that your application is running, let’s make some modifications. Open the src/App.js file in your code editor (like VS Code) and change the text in the return statement to something like:
return <h1>Hello, World!</h1>;Save the file, and your browser will automatically refresh to show your changes. This live reloading feature is one of the many benefits of using React!

Step 6: Adding More Components 🔄
As you get comfortable with React, you can start creating more components. Components are reusable pieces of your UI. To create a new component, simply create a new JavaScript file in the src folder, for example, MyComponent.js.
In this file, define your component like this:
function MyComponent() {
    return <div>This is my first component!</div>;
}
Then, import and use it in your App.js file:
import MyComponent from './MyComponent';This modular approach allows you to build more complex UIs efficiently.
Conclusion about Install React JS🏁
Congratulations! You have successfully installed React JS, created your first project, and made some basic modifications. React is a powerful tool for building modern web applications, and by mastering it, you can take your development skills to the next level.
Continue exploring React by experimenting with components, state management, and routing. The more you practice, the more proficient you’ll become. Happy coding!
